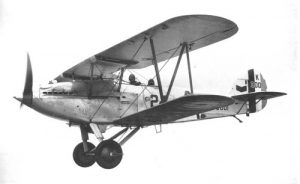
Each photograph is offered at a 300dpi res/13x8cm size making them available for a very good quality digital print, but also for Iphone/IPad, smartphone or computer screen (but should convert the image into a jpeg format for doing so)
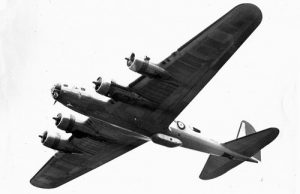
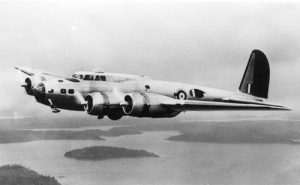
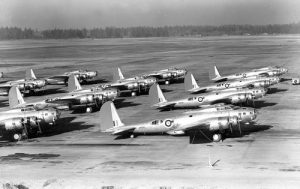
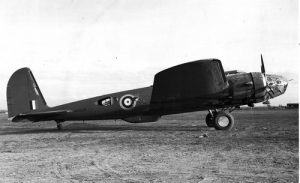
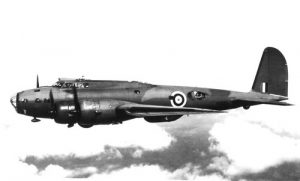
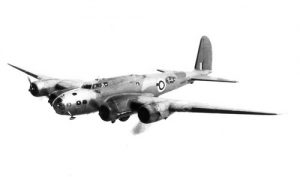
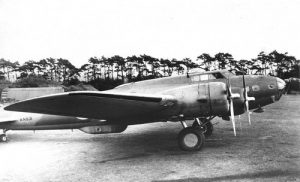
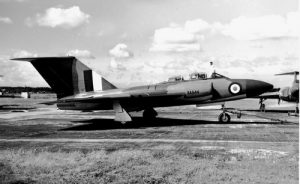
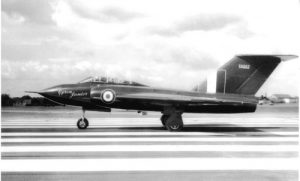
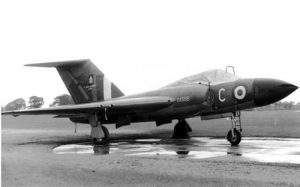
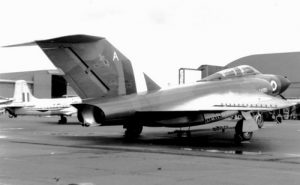
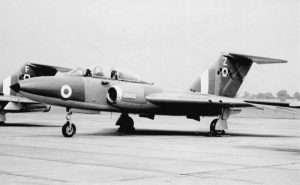
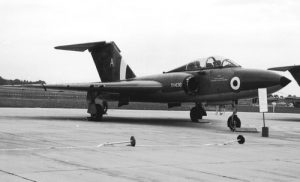
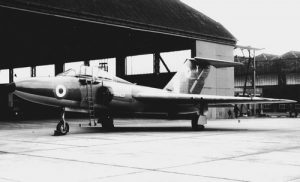
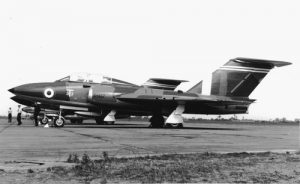
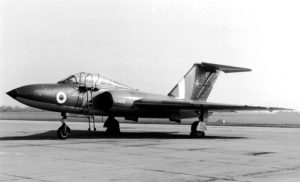
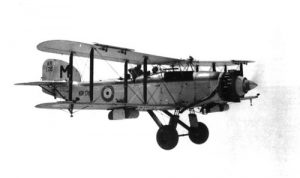
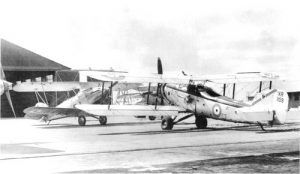
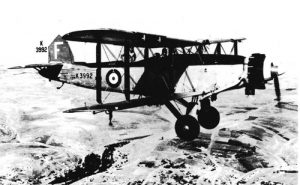
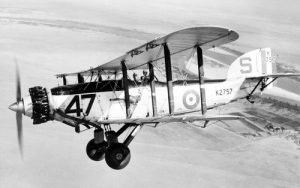
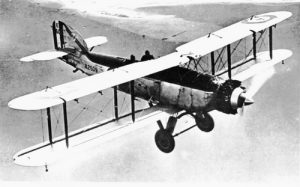
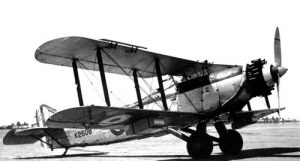
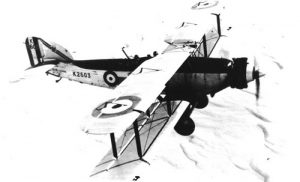
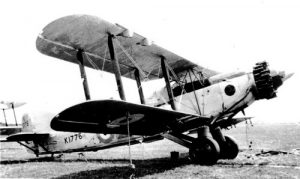
This set can be associated to SQUADRONS! No. 15 -The Gloster Meteor F.I & F.III in which many photos of this set have been published.
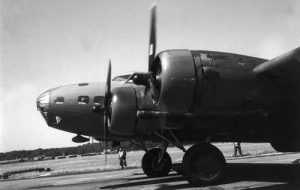
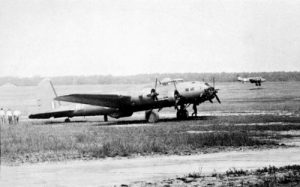
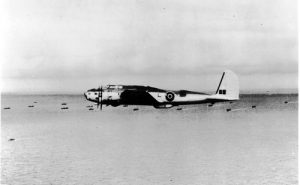
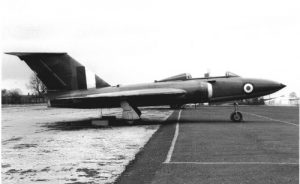
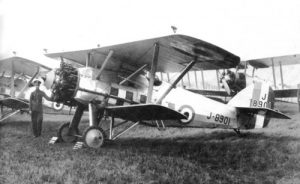
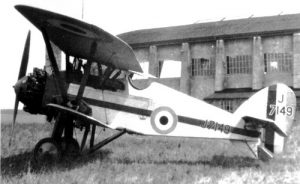
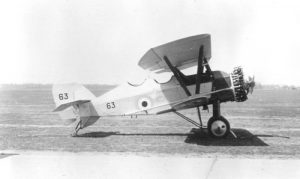
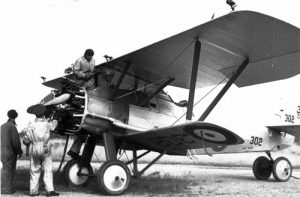
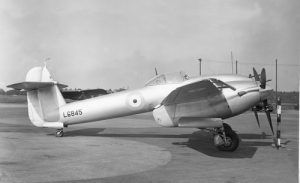
Photo Meteor 01: Gloster prototype DG202/G in July 1943 with W.2B/23 engines.
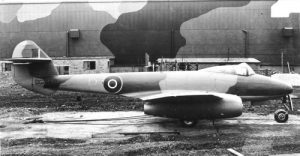
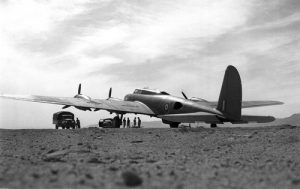
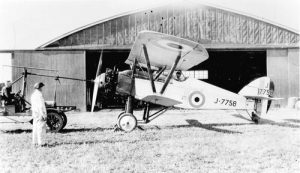
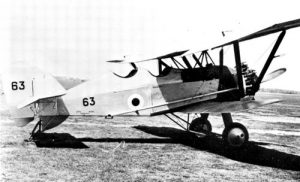
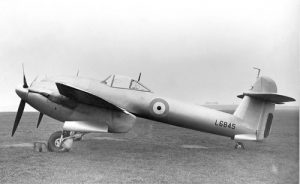
Photo Meteor 02: Gloster prototype DG204/G, the third prototype with Metropolitan-Vickers F.2 engines.
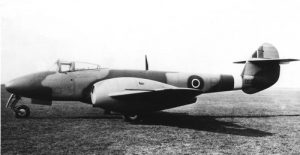
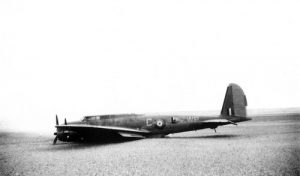
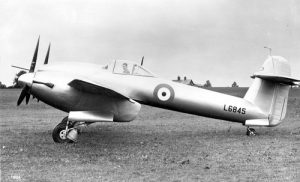
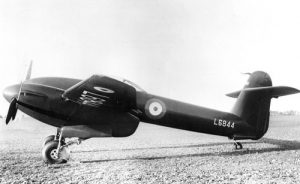
Photo Meteor 03: Gloster Meteor DG206/G Halford H.1 engines.
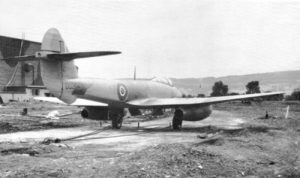
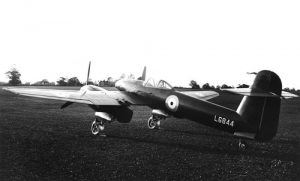
Photo Meteor 04: Gloster Meteor DG204/G seen from another angle.
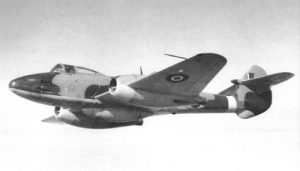
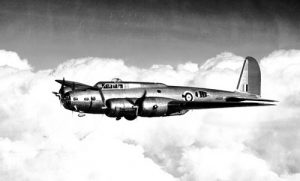
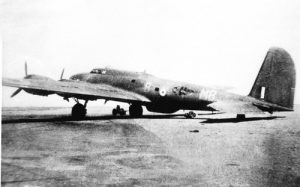
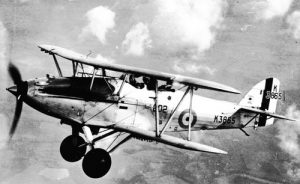
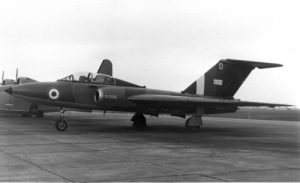
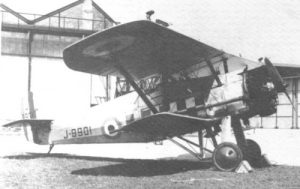
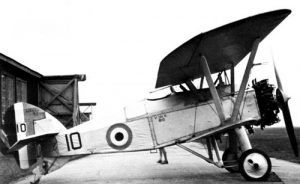
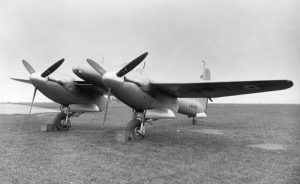
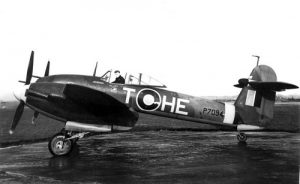
Photo Meteor 11: Gloster Meteor F.I EE214/G while used as a test bed for ventral fuel tank.
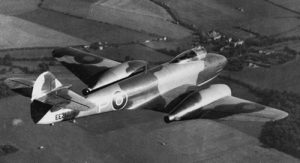
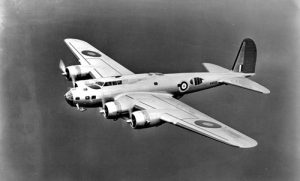
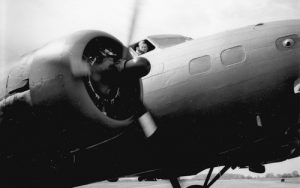
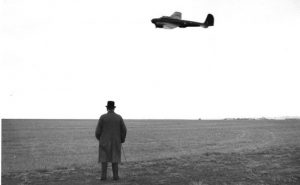
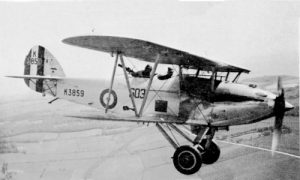
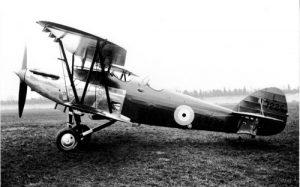
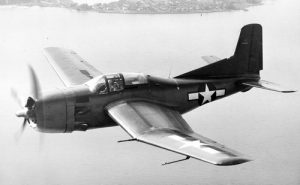
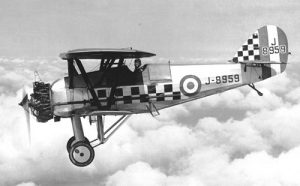
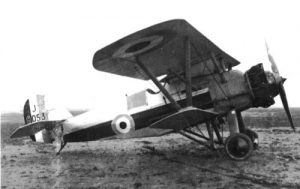
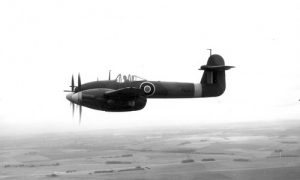
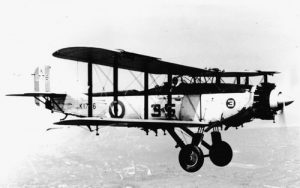
Photo Meteor 12: Gloster Meteor F.I EE212 taken in flight during a flight test.
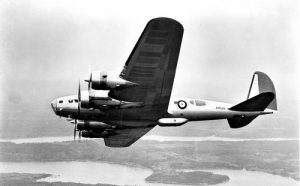
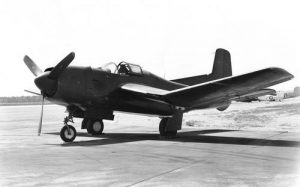
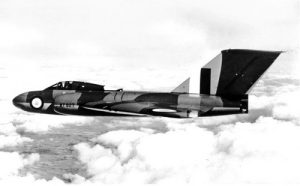
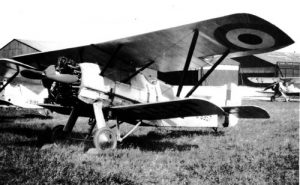
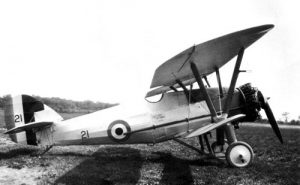
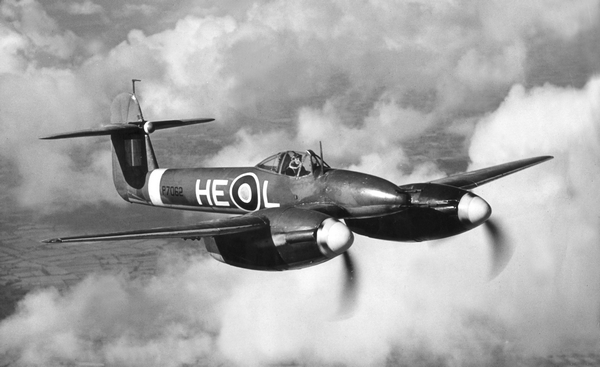
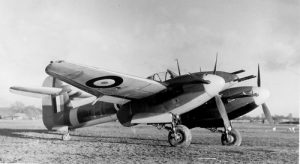
Photo Meteor 13: Gloster Meteor F.I EE227 fitted with Trent turbo-props. It first flown on 20.09.45.
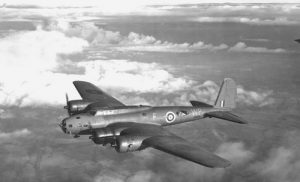
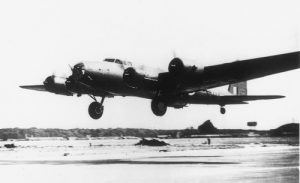
Photo Meteor 14: A Gloster Meteor F.I, of 616 Sqn, coming in to land at Manston, Kent during the summer 1944.
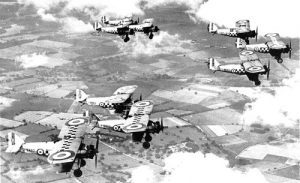
Photo Meteor 15: A Gloster Meteor F.Is of 616 Sqn, based at Manston, Kent, in flight over the countryside between West Hougham and Dover, ever ready to intercept V-1s.
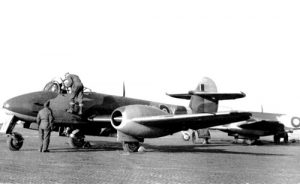
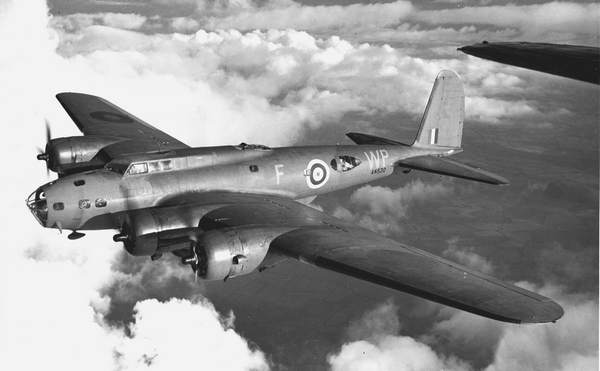
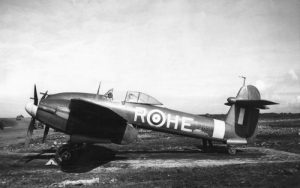
Photo Meteor 16: Gloster Meteor F.I EE227/QY-Y seen at Manston in September 1944 at a time when the V-1 threat had reached its end.

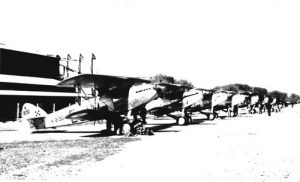
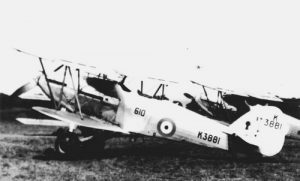
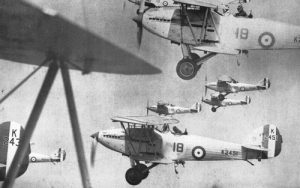
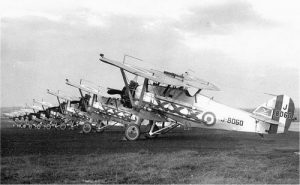
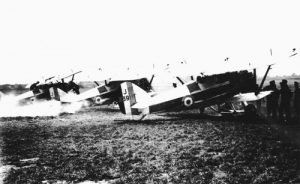
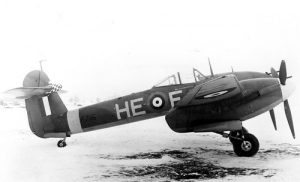
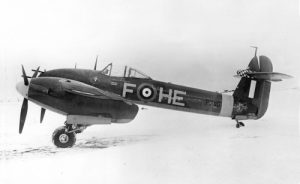
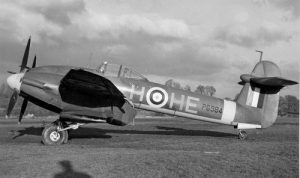
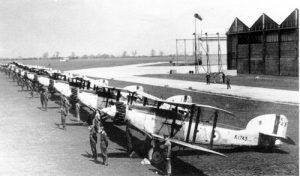
Photo Meteor 17: Meteor F.Is of 616 Sqn, with EE219/D in the foreground, lined-up at Manston in January 1945.
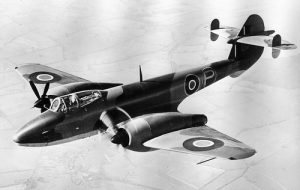
Photo Meteor 18: Another view of Gloster Meteor F.I EE227 (see photo 13)
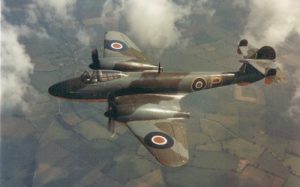
Photo Meteor 19: Another view of Gloster Meteor F.I EE227 (see photo 13 &18)
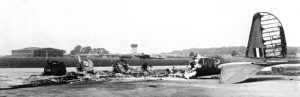
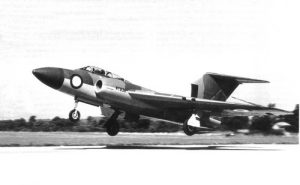
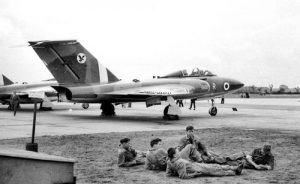
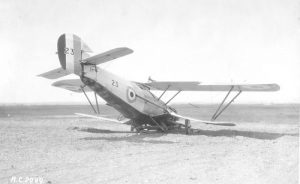
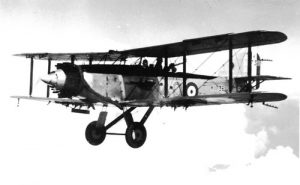
Photo Meteor 31: A Gloster Meteor F.III, of the 616 Sqn detachment, takes off from B58/Melsbroek, Belgium, shortly after joining No. 84 Group of 2 TAF in the air defence role. In the foreground a mobile Chance light stands parked by the main runway and, as can be seen, the Meteors were painted white to aid in their identification.
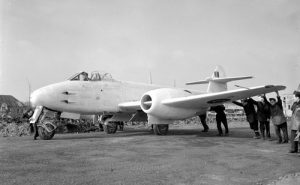
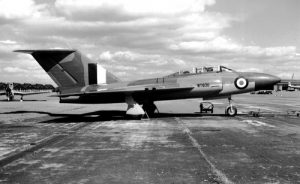
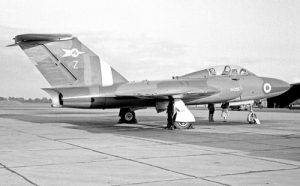
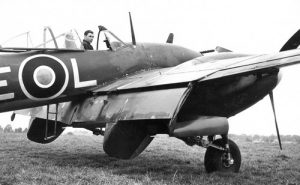
Photo Meteor 32: Ground crew pushing Meteor F.III EE239/YQ-Q. Now painted white, the only remaining markings are the national insignia and the letter ‘Q’ painted on the nose wheel door. This Meteor would also eventually become an instructional airframe.
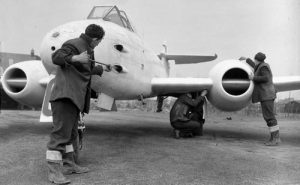
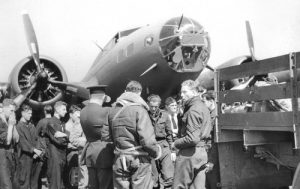
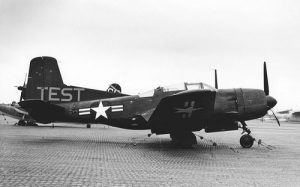
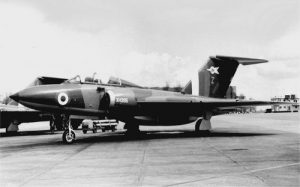
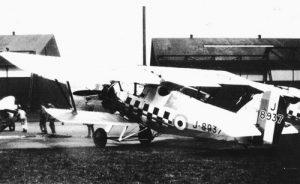
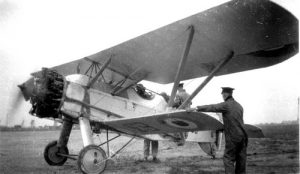
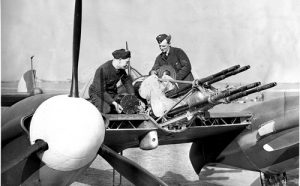
Photo Meteor 33: Gloster Meteor F.III EE239/Q having its cannon serviced.
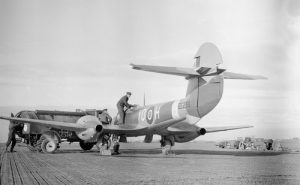
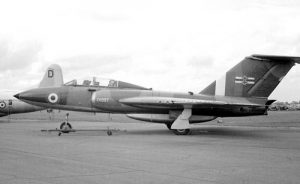
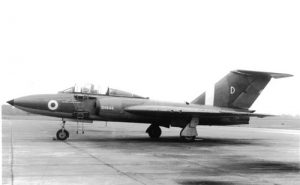
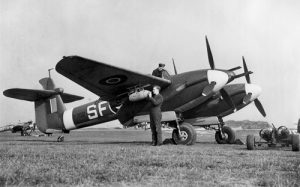
Photo Meteor 34: Ground crew refuelling Gloster Meteor F.III, EE236/YQ-H. It served as an instructional airframe from January 1945.
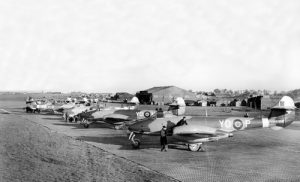
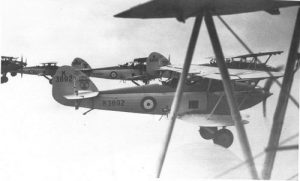
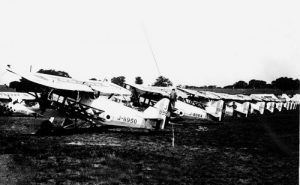
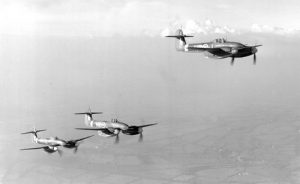
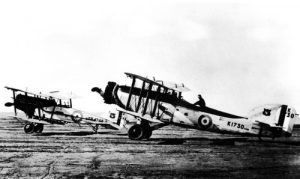
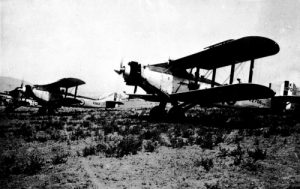
Photo Meteor 35: Another scene of 616 Sqn’s Meteors in January 1945. These are Meteor F.Is and Welland-powered F.3s, with EE235/P (a F.III) and EE229/W (a F.I) just behind. A further F.III, EE234/YQ-O, can be identified facing the opposite direction to the other Meteors. Just behind YQ-W, and partially obscured, is EE239/Q which would later be painted white while stationed on the Continent.
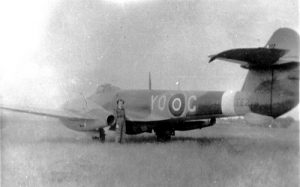
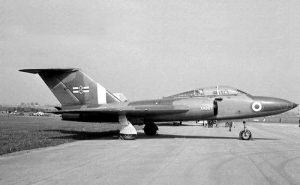
Photo Meteor 36: Gloster Meteor F.III EE278/YQ-G was also delivered in March 1945 and would serve with various squadrons – 263 (ex-616), 257, 222 and 1 – and ended as an advanced trainer at 206 AFS. Withdrawn from use in June 1953, it became an instructional airframe in December 1954.
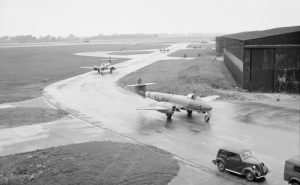
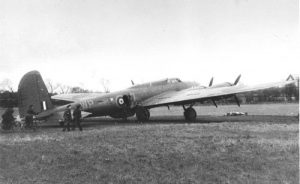
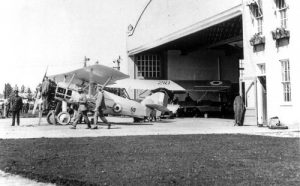
Photo Meteor 37: Gloster Meteor F.IIIs (EE354 XL-H nearest) of No. 1335 (Meteor) Conversion Unit taxi to dispersal after a demonstration flight for the Brazilian Air Minister and his party at Molesworth, Huntingdonshire. EE354 was issued to 1335 CU in July 1945.
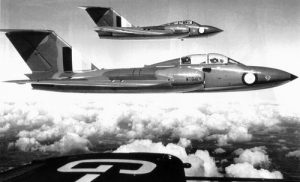
Photo Meteor 38: Gloster Meteor F.III EE317 taken in flight wearing the codes of 1335 CU (XL-Y). It was issued directly from Glosters to the CU in June 1945 along with EE316 (XL-U) and EE318 (XL-Z).
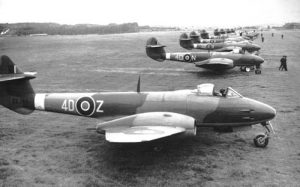
Photo Meteor 39: A line-up of Gloster Meteor F.IIIs of 74 Sqn at Colerne in the summer of 1945. Meteor 4D-Z in the foreground is EE346 and was delivered to the squadron
in mid-July 1945.

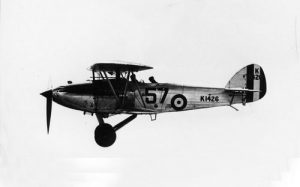
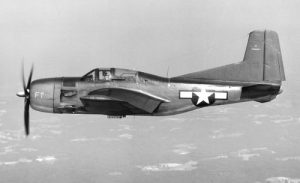
Photo Meteor 40: Gloster Meteor F.III EE341 of No. 74 Sqn in the summer 1945.
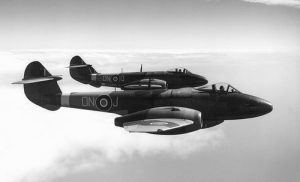
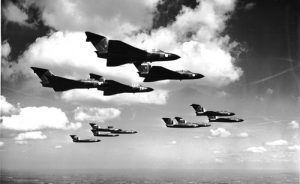
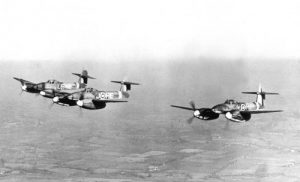
Photo Meteor 41: When the war ended in September 1945, 124 Sqn was about to begin conversion to the Meteor F.3. Leading two other F.3s of the squadron, EE393/ON-J was taken on charge on 22 September.
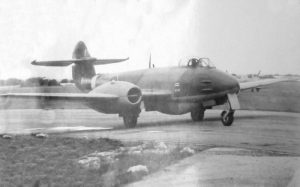
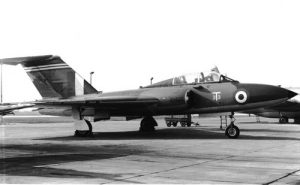
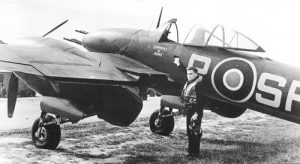
Photo Meteor 42: Gloster Meteor F. III EE426 of Sir D. Evill July 46.
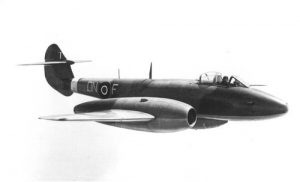
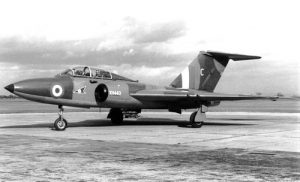
Photo Meteor 43: Gloster Meteor F. 3 EE464 was issued to No. 124 Squadron in February 1946 and coded ON-F.
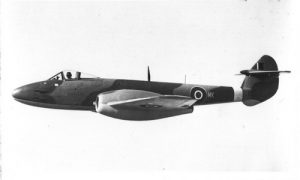
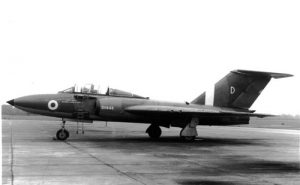
Photo Meteor 44: Gloster Meteor F.3 EE401 personal mount of Wing Commander M. Kellet WinCo Middle Wallop Wing in 1947. It was coded ‘MK’.
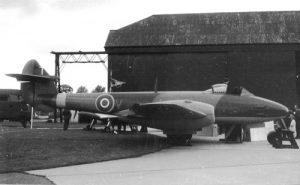
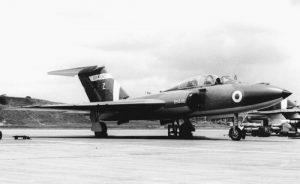
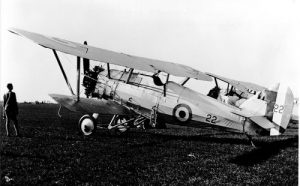
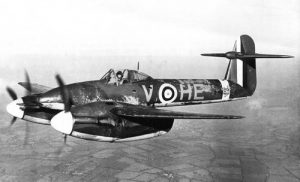
Photo Meteor 45: Gloster Meteor F.3 EE419 ‘MR-V’ of 245 Sqn in 1945.

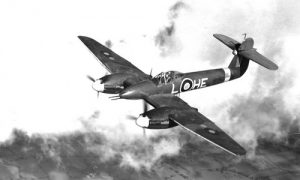
Photo Meteor 46: Gloster Meteor F.3 EE275 ‘YQ-Q’ of 616 Sqn in 1945.