Each photograph is offered at a 300dpi res/13x8cm size making them available for a very good quality digital print, but also for Iphone/IPad, smartphone or computer screen (but should convert the image into a jpeg format for doing so)
Part Two: WZ batch
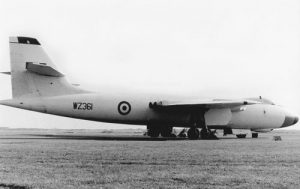
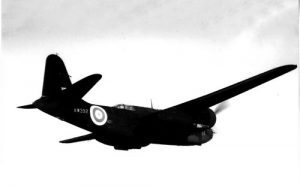
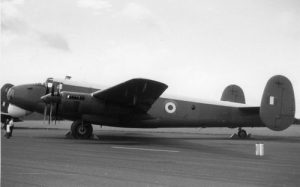
Photo Valiant 51: Vickers Valiant B.1 WZ361, No. 232 OCU
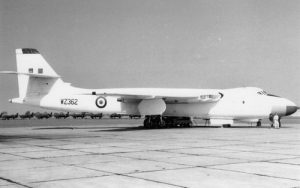
Photo Valiant 52: Vickers Valiant B.1 WZ361, No. 232 OCU
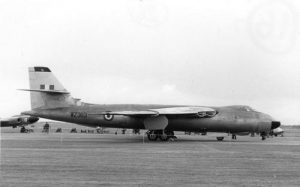
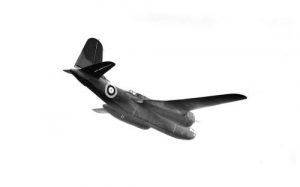
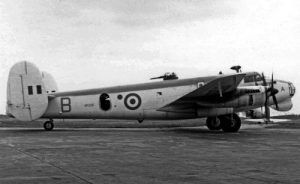
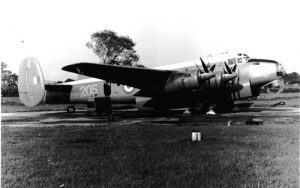
Photo Valiant 53: Vickers Valiant B.1 WZ363
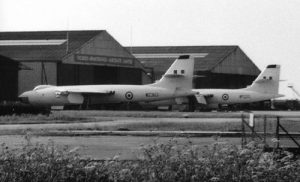
Photo Valiant 54: Vickers Valiant B.1 WZ363, No. 138 Sqn
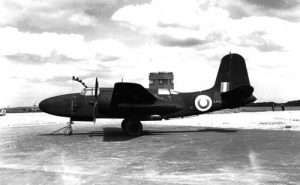
Photo Valiant 55: Vickers Valiant B.1 WZ364, No. 232 OCU
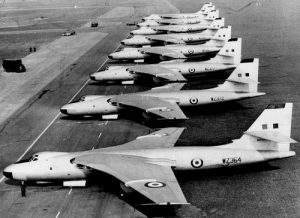
Photo Valiant 56: Vickers Valiant B.1 WZ364, No. 232 OCU
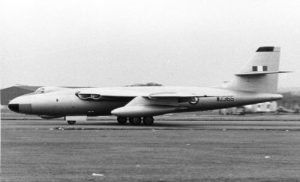
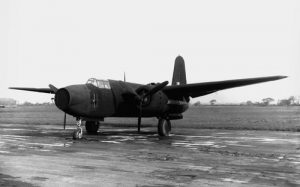
Photo Valiant 57: Vickers Valiant B.1 WZ365, No. 232 OCU
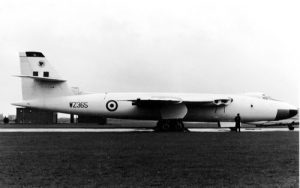
Photo Valiant 58: Vickers Valiant B.1 WZ365, No. 18 Sqn
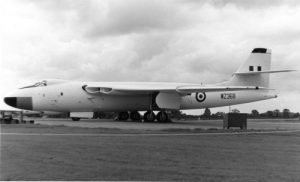
Photo Valiant 59: Vickers Valiant B.1 WZ368, No. 7 Sqn
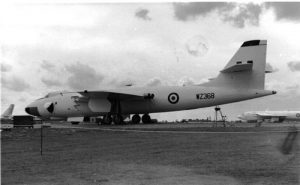
Photo Valiant 60: Vickers Valiant B.1 WZ368, No. 7 Sqn
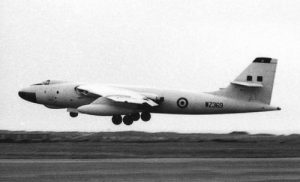
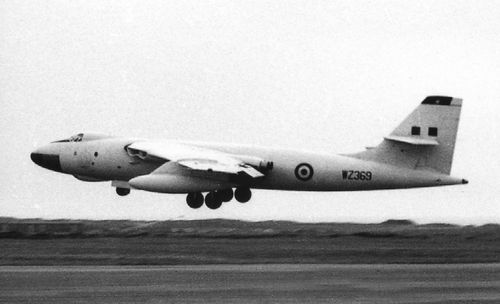
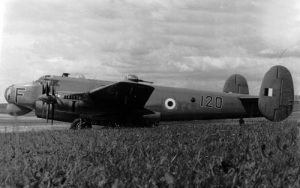
Photo Valiant 61: Vickers Valiant B.1 WZ369, No. 148 Sqn
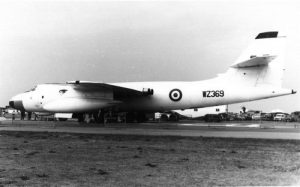
Photo Valiant 62: Vickers Valiant B.1 WZ369, No. 148 Sqn
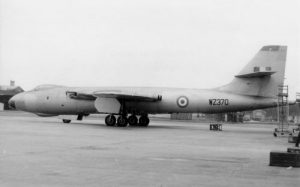
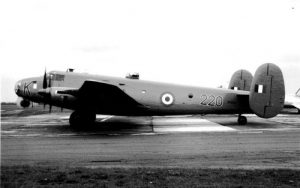
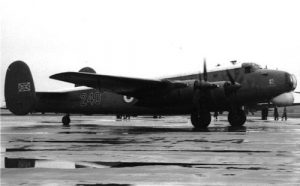
Photo Valiant 63: Vickers Valiant B.1 WZ370
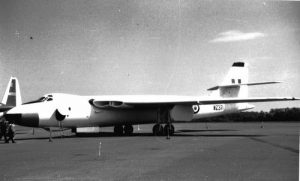
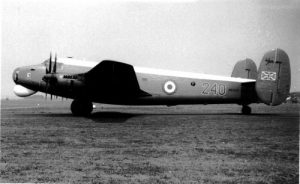
Photo Valiant 64: Vickers Valiant B.1 WZ371, No. 232 OCU
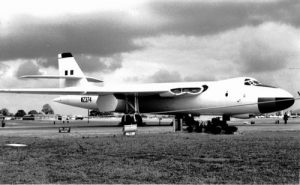
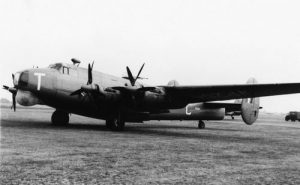
Photo Valiant 65: Vickers Valiant B.1 WZ374, No. 7 Sqn
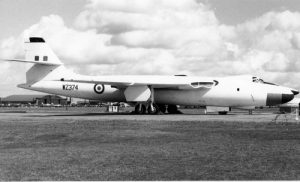
Photo Valiant 66: Vickers Valiant B.1 WZ374, No. 7 Sqn
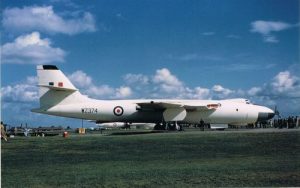
Photo Valiant 67: Vickers Valiant B.1 WZ374, No. 7 Sqn

Photo Valiant 68: Vickers Valiant B.1 WZ375
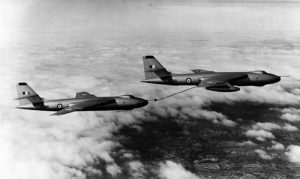
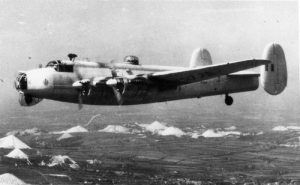
Photo Valiant 69: Vickers Valiant B(PR).1 WZ376 air refulling WZ390.
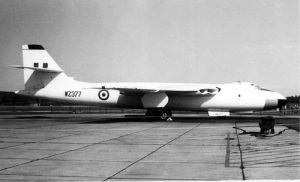
Photo Valiant 70: Vickers Valiant B(PR).1 WZ377, No. 232 OCU
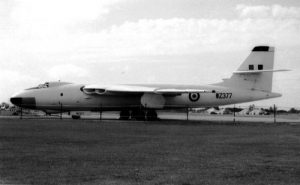
Photo Valiant 71: Vickers Valiant B(PR).1 WZ377, No. 232 OCU
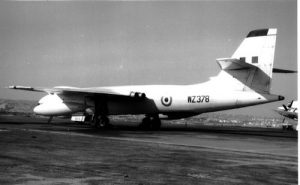
Photo Valiant 72: Vickers Valiant B(PR).1 WZ378
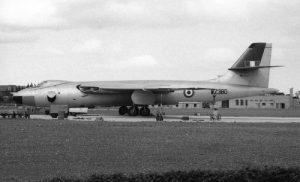
Photo Valiant 73: Vickers Valiant B(PR).1 WZ380, No. 543 Sqn
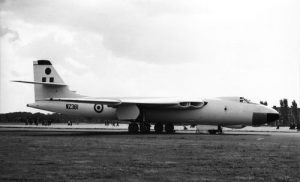
Photo Valiant 74: Vickers Valiant B(PR).1 WZ381, No. 7 Sqn
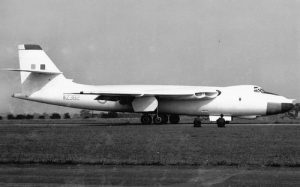
Photo Valiant 75: Vickers Valiant B(PR).1 WZ382, No. 543 Sqn
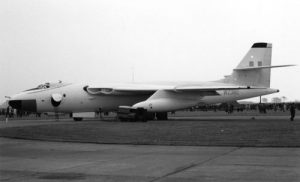
Photo Valiant 76: Vickers Valiant B(PR).1 WZ382, No. 543 Sqn
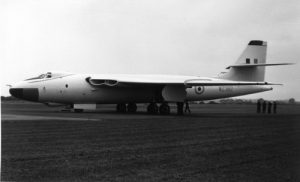
Photo Valiant 77: Vickers Valiant B(PR).1 WZ382, No. 543 Sqn

Photo Valiant 76: Vickers Valiant B(PR).1 WZ384, No. 148 Sqn
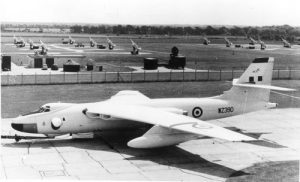
Photo Valiant 79: Vickers Valiant B(PR)K.1 WZ390, No. 214 Sqn
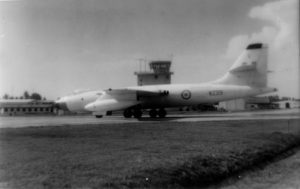
Photo Valiant 80: Vickers Valiant B(PR)K.1 WZ391, No. 543 Sqn

Photo Valiant 81: Vickers Valiant B(PR)K.1 WZ391, No. 543 Sqn
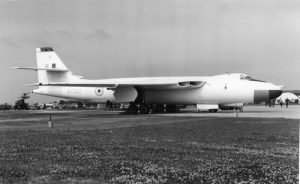
Photo Valiant 82: Vickers Valiant B(PR)K.1 WZ392, No. 543 Sqn
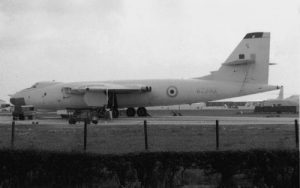
Photo Valiant 83: Vickers Valiant B(PR)K.1 WZ392, No. 543 Sqn
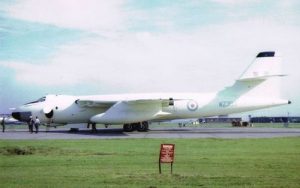
Photo Valiant 84: Vickers Valiant B(PR)K.1 WZ393, No. 148 Sqn
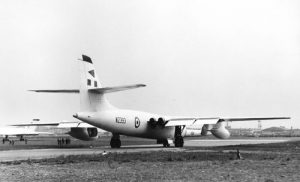
Photo Valiant 85: Vickers Valiant B(PR)K.1 WZ393, No. 90 Sqn
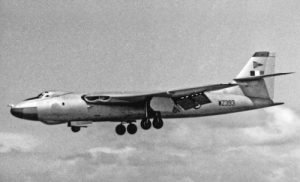
Photo Valiant 86: Vickers Valiant B(PR)K.1 WZ393, No. 90 Sqn
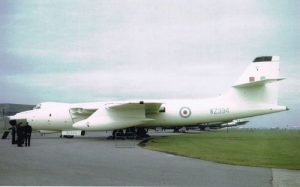
Photo Valiant 87: Vickers Valiant B(PR)K.1 WZ394, No. 543 Sqn
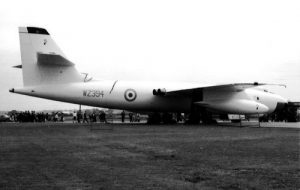
Photo Valiant 88: Vickers Valiant B(PR)K.1 WZ394, No. 543 Sqn
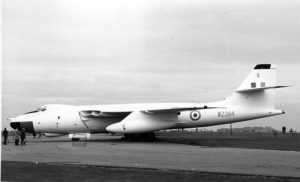
Photo Valiant 89: Vickers Valiant B(PR)K.1 WZ394, No. 543 Sqn

Photo Valiant 90: Vickers Valiant B(PR)K.1 WZ395
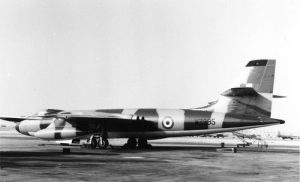
Photo Valiant 91: Vickers Valiant B(PR)K.1 WZ395, No. 214 Sqn
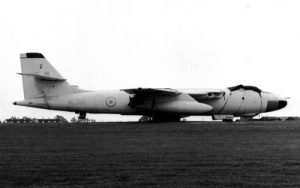
Photo Valiant 92: Vickers Valiant B(PR)K.1 WZ396, No. 543 Sqn

Photo Valiant 93: Vickers Valiant B(PR)K.1 WZ397, No. 214 Sqn
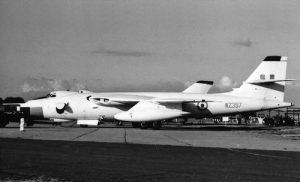
Photo Valiant 94: Vickers Valiant B(PR)K.1 WZ397, No. 214 Sqn
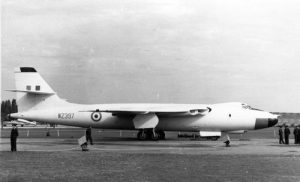
Photo Valiant 95: Vickers Valiant B(PR)K.1 WZ397, No. 214 Sqn
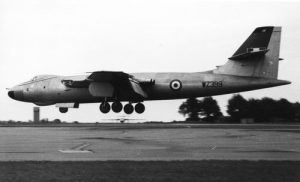
Photo Valiant 96: Vickers Valiant B(PR)K.1 WZ399, No. 543 Sqn

Photo Valiant 97: Vickers Valiant B(PR)K.1 WZ399, No. 543 Sqn
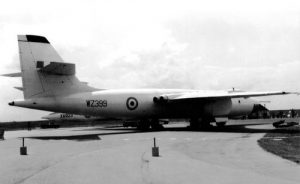
Photo Valiant 98: Vickers Valiant B(PR)K.1 WZ399, No. 543 Sqn

Photo Valiant 99: Vickers Valiant B(PR)K.1 WZ400, BCDU (Bomber Command Development Unit)
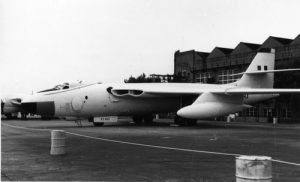
Photo Valiant 100: Vickers Valiant B(PR)K.1 WZ401, No. 138 Sqn
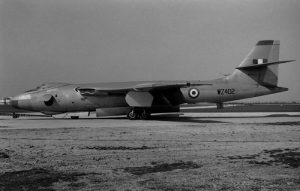
Photo Valiant 101: Vickers Valiant B(PR)K.1 WZ402
Photo Valiant 102: Vickers Valiant B(PR)K.1 WZ402, No. 138 Sqn

Photo Valiant 103: Vickers Valiant B(PR)K.1 WZ405, No. 207 Sqn

Photo Valiant 104: Vickers Valiant B(PR)K.1 WZ405, No. 232 OCU